Your dashboard
How everything works
A look around Sophie and Daniel's invitation — the same screens you'll use to design, fill, track and send yours.
01Design
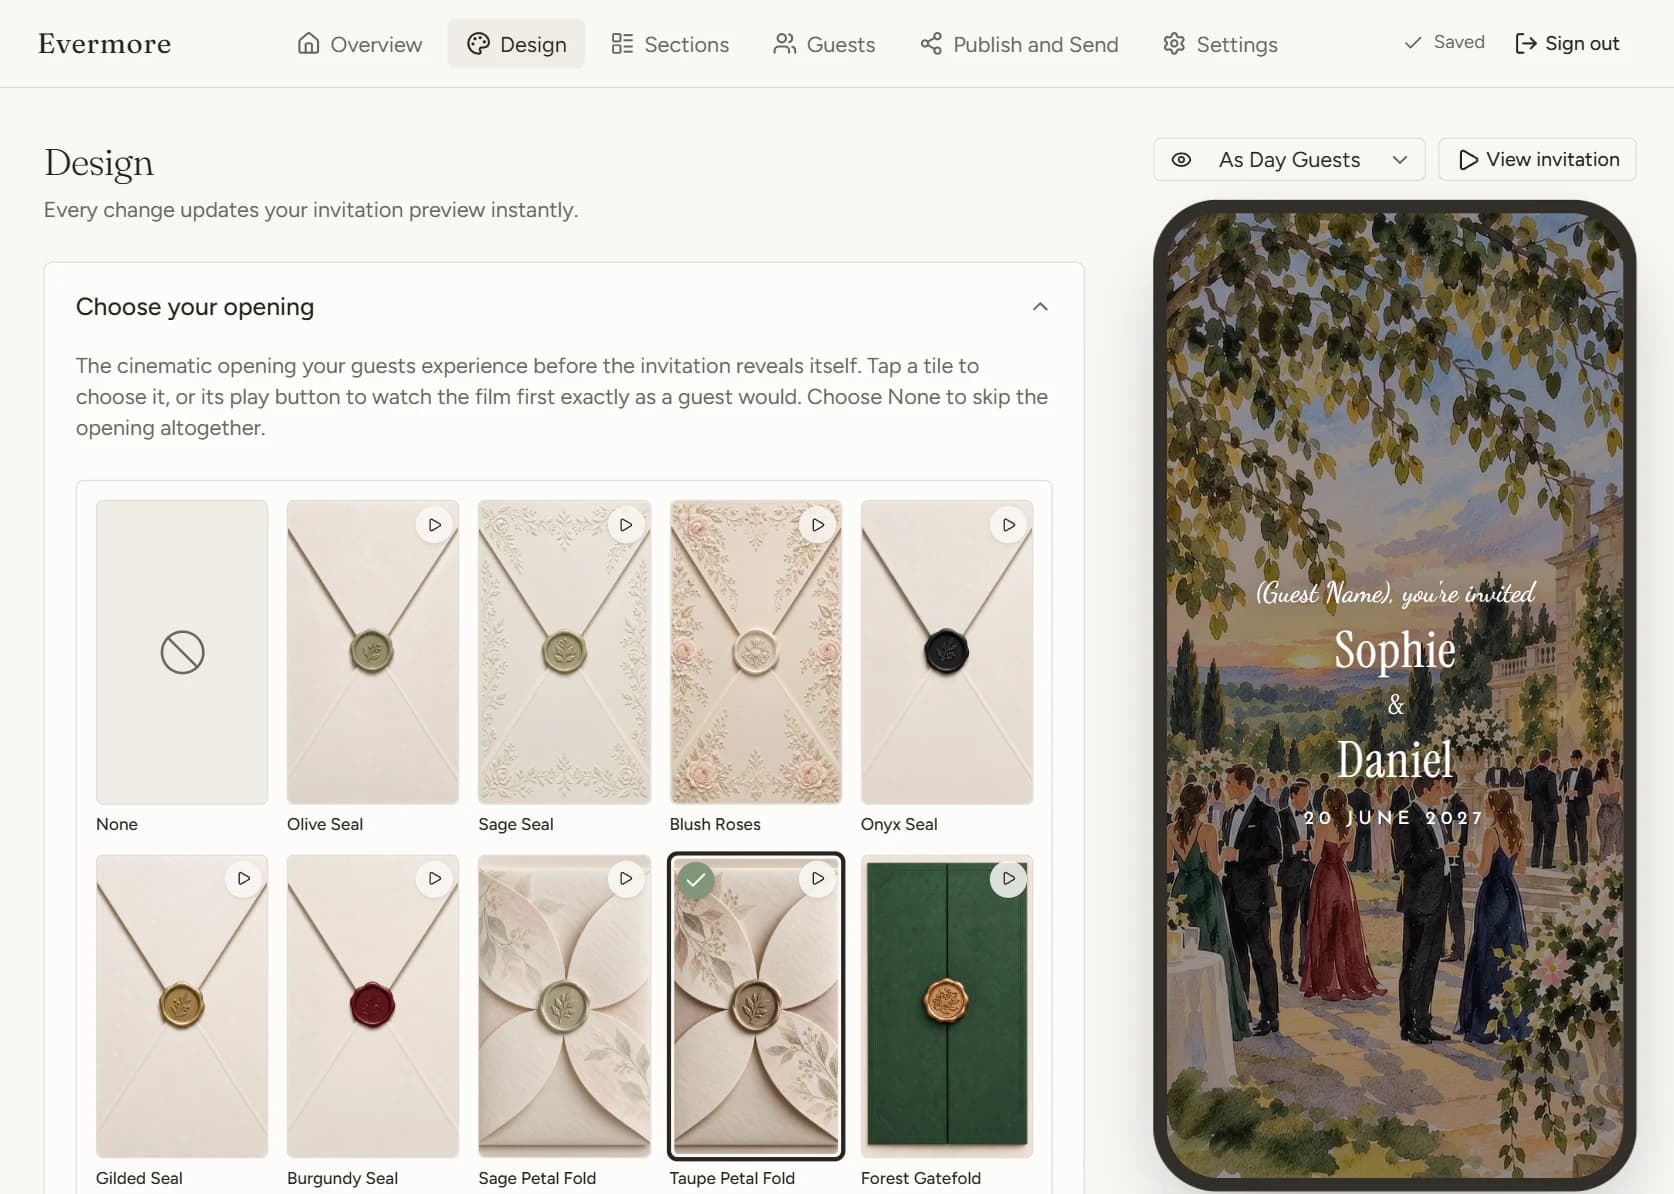
Choose your opening
The first thing a guest sees, before the invitation itself. Tap a tile to choose it, or its play button to watch the film exactly as they will.
- Wax seals, gatefolds, ribbons and petal folds
- Add your own wording to the opening
- Or choose None and skip straight in
02Design
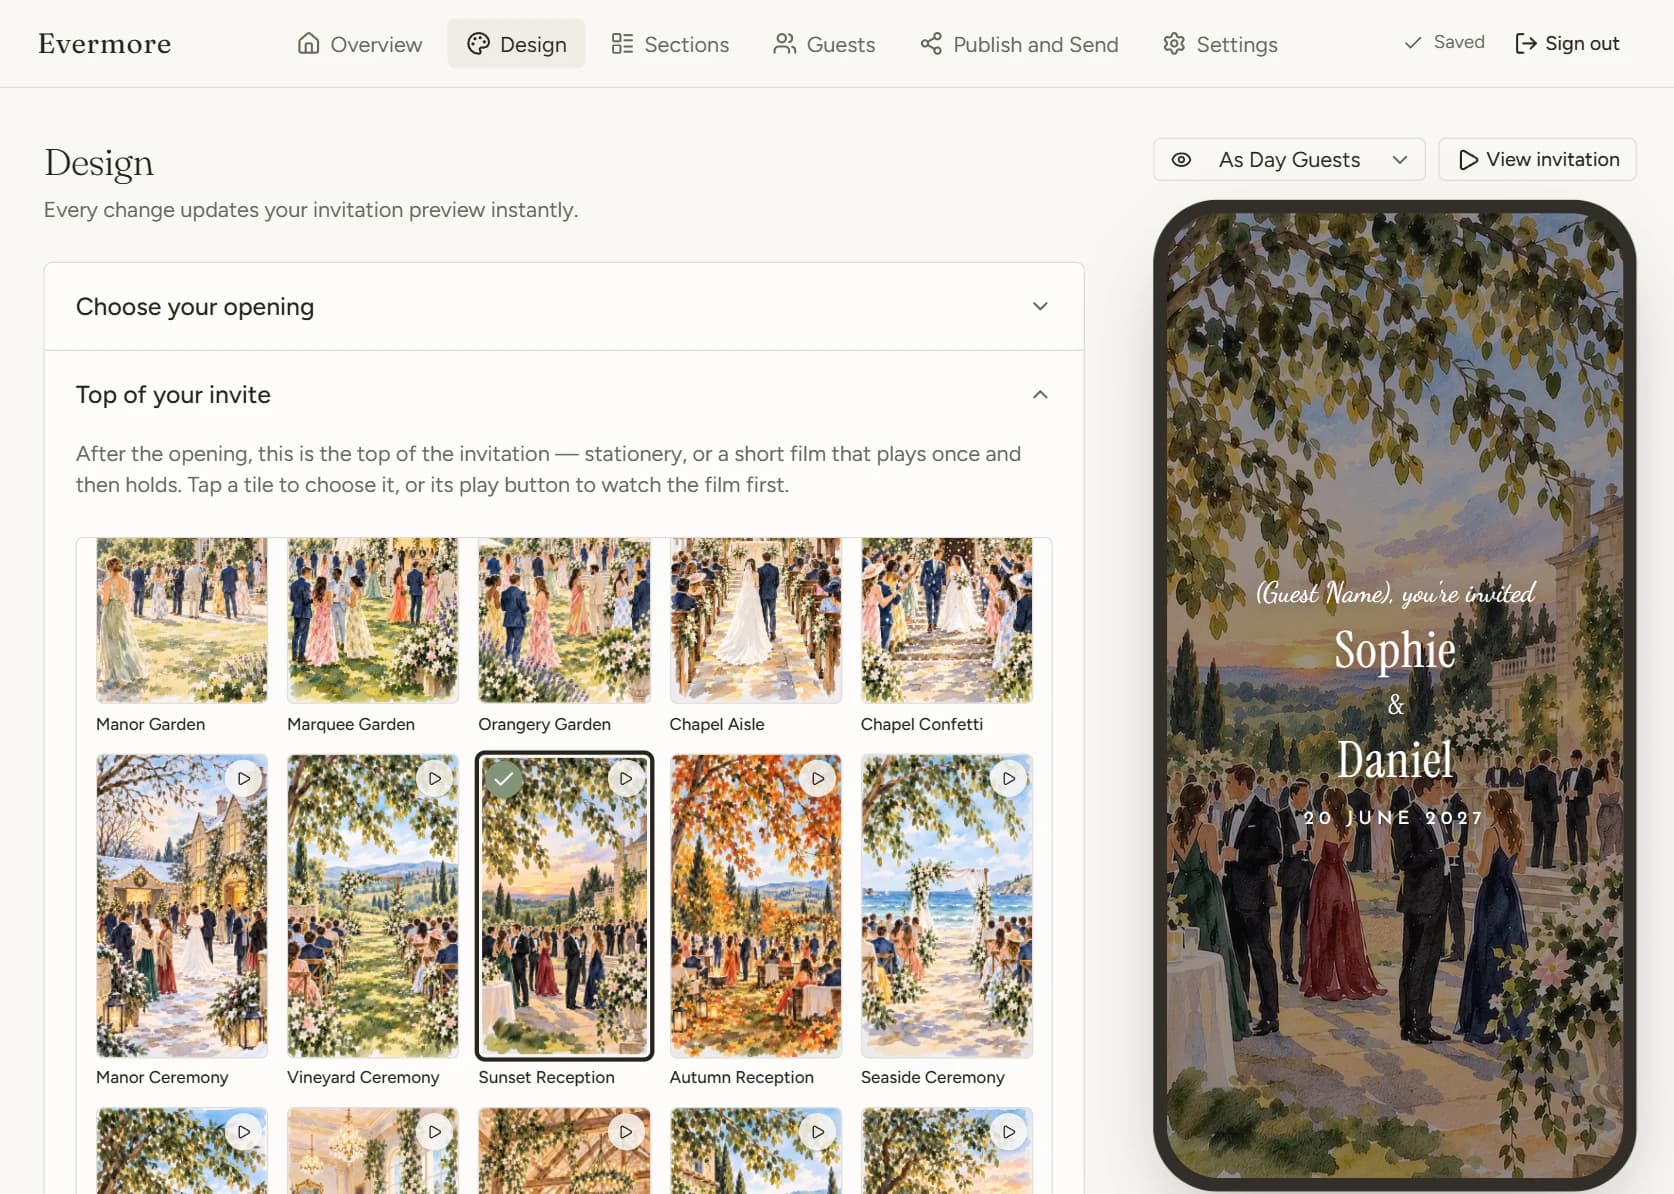
Set the top of your invite
After the opening, guests land here. Pick a hand-painted film, a stationery look, or your own photograph — Sophie and Daniel went with Sunset Reception.
- Dozens of films that play once, then hold
- Stationery frames for a quieter look
- The phone preview changes as you tap
03Design
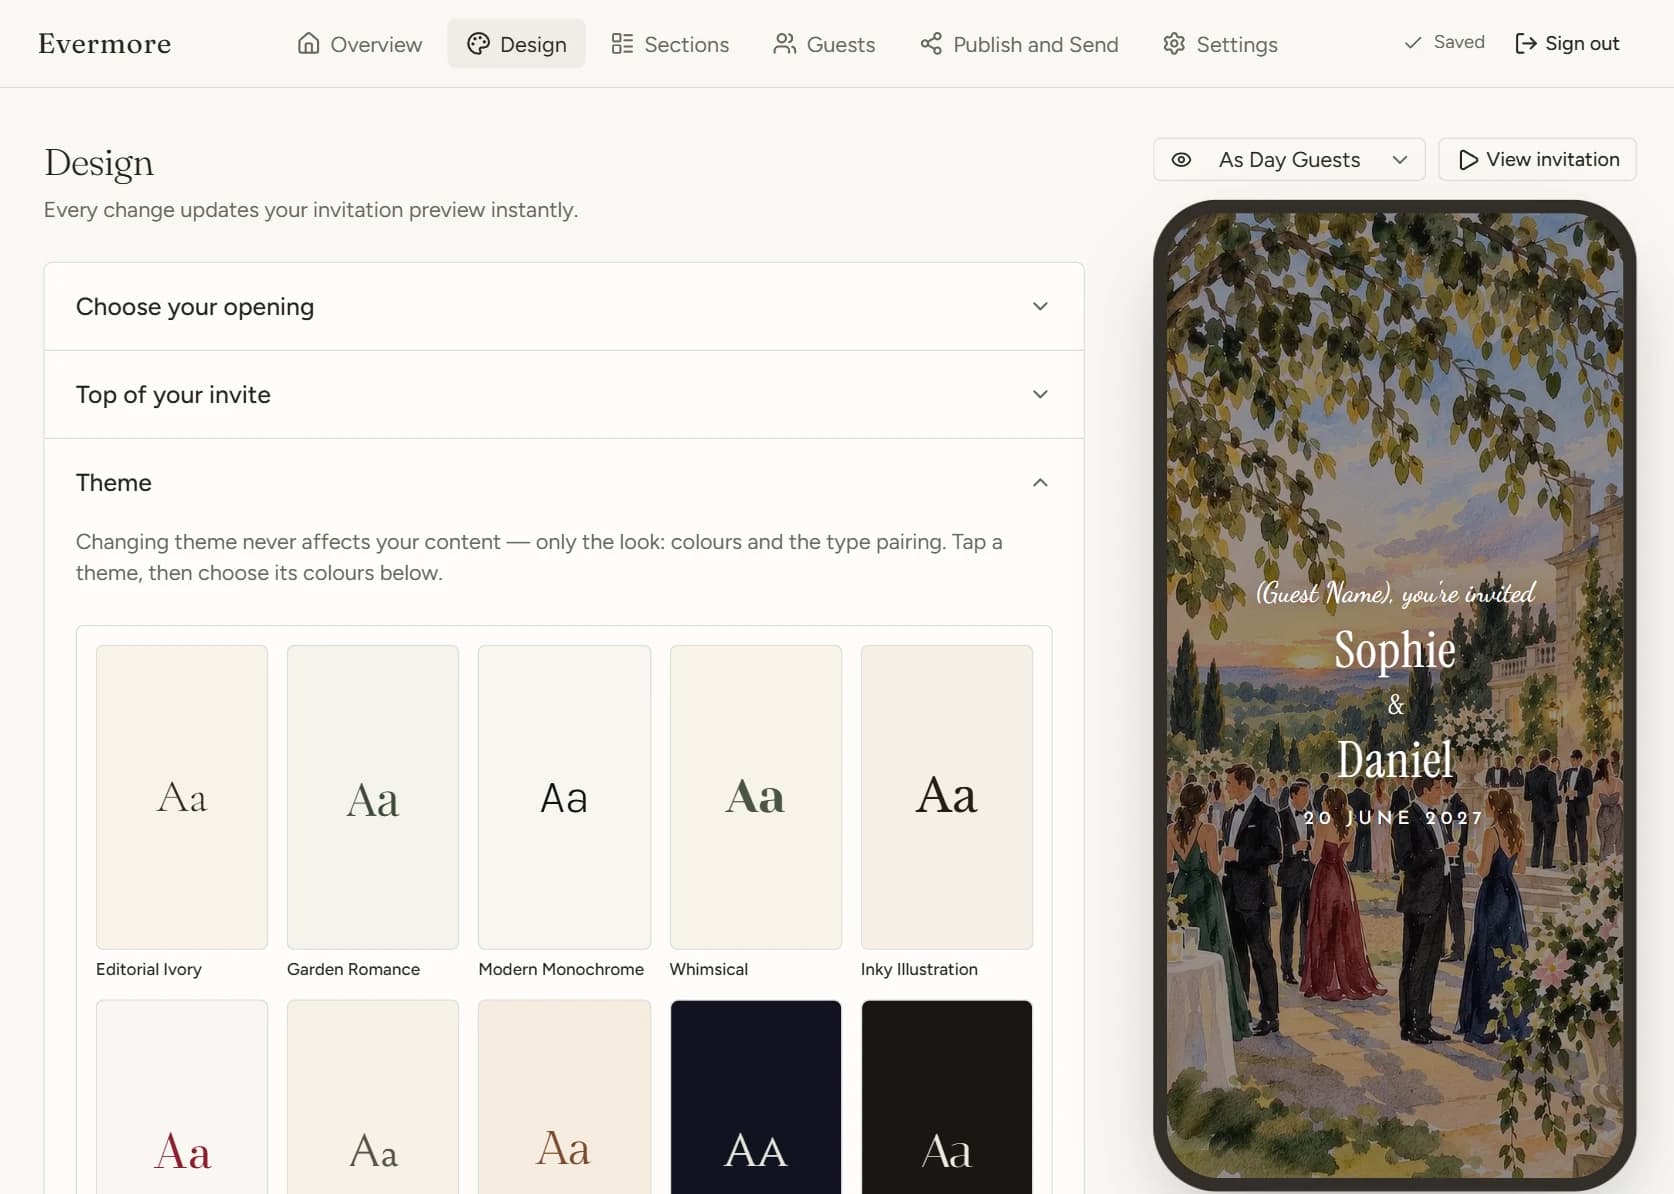
Pick a theme
A theme sets the colours and the type pairing for the whole invitation. Switching theme never touches your wording, so you can try as many as you like.
- Editorial Ivory, Garden Romance, Midnight and more
- Each comes with its own palettes
- Or set every colour yourself
04Design
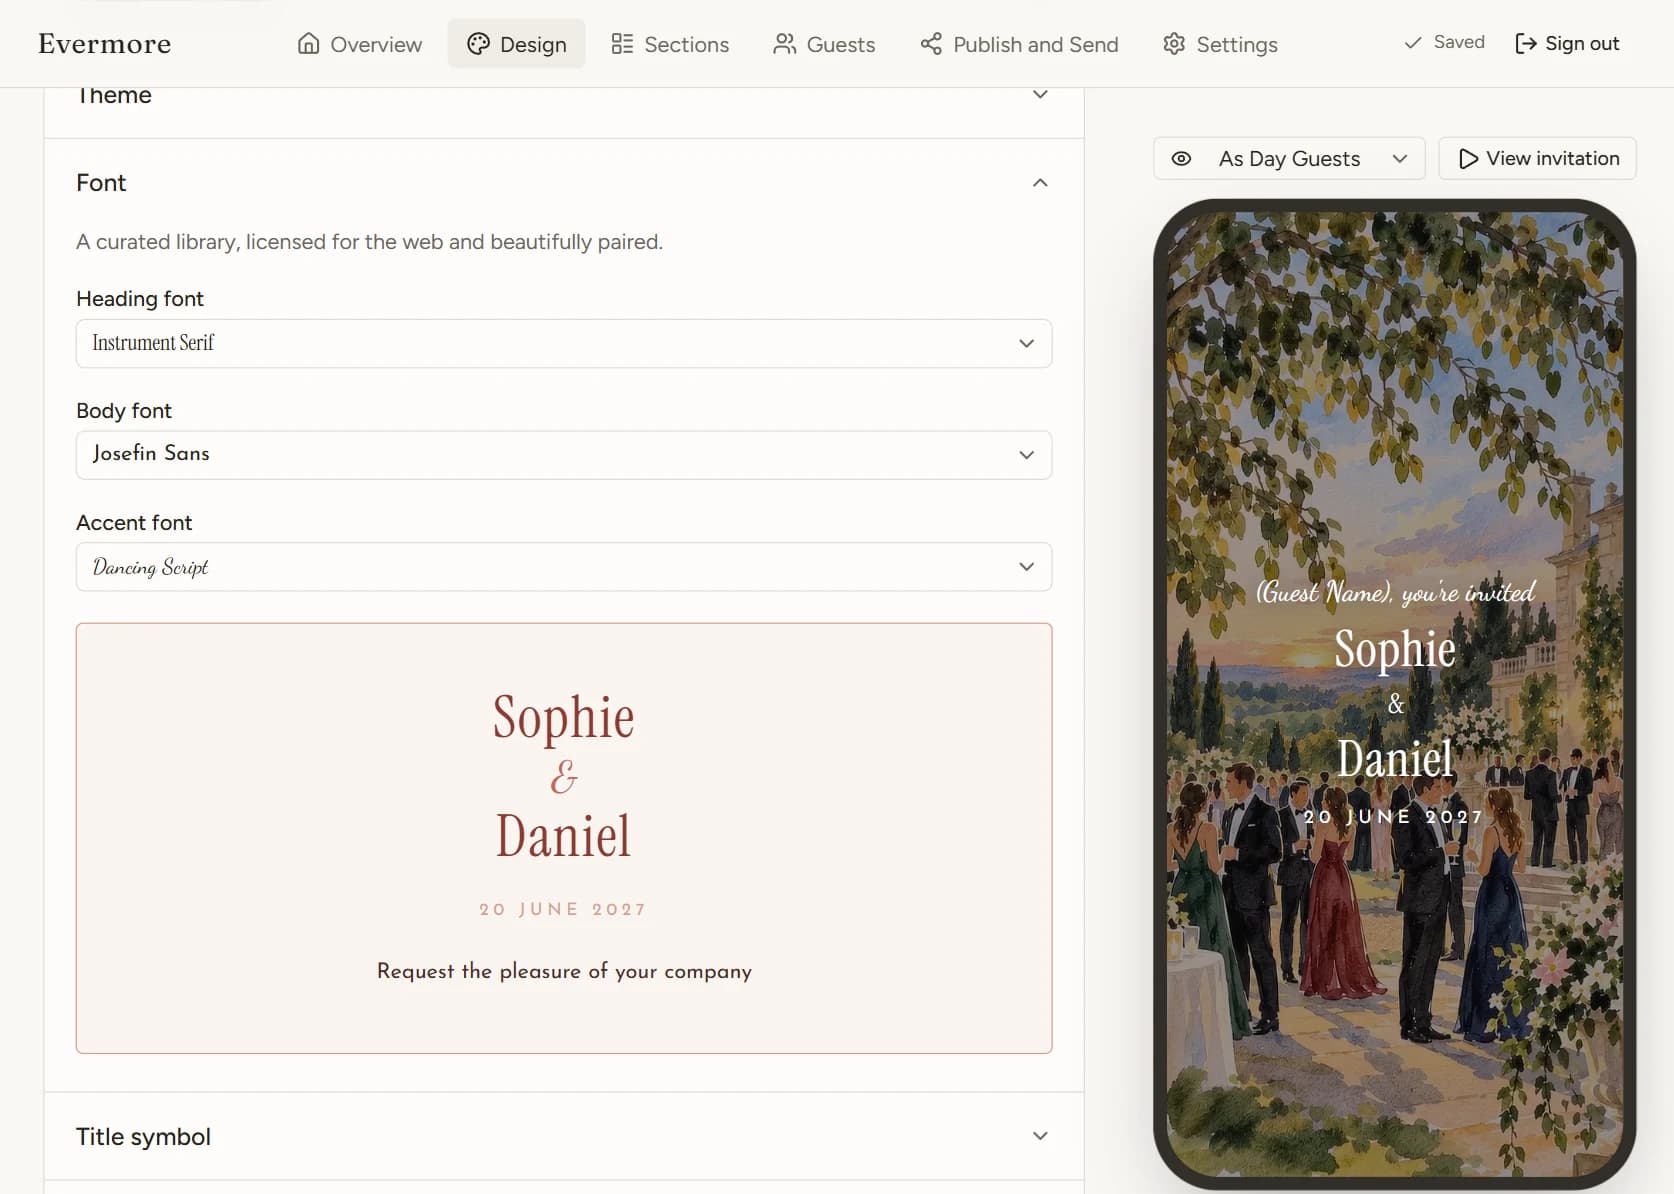
Add the finishing touches
Make it feel like yours. Choose the fonts, the small symbol under every section title and the music that plays as guests open it, and watch each change in the preview.
- Heading, body and accent fonts, already paired
- A title symbol to match your theme, or any you like
- Your own song once they open it (Premium)
05Sections
Build the rest of the invitation
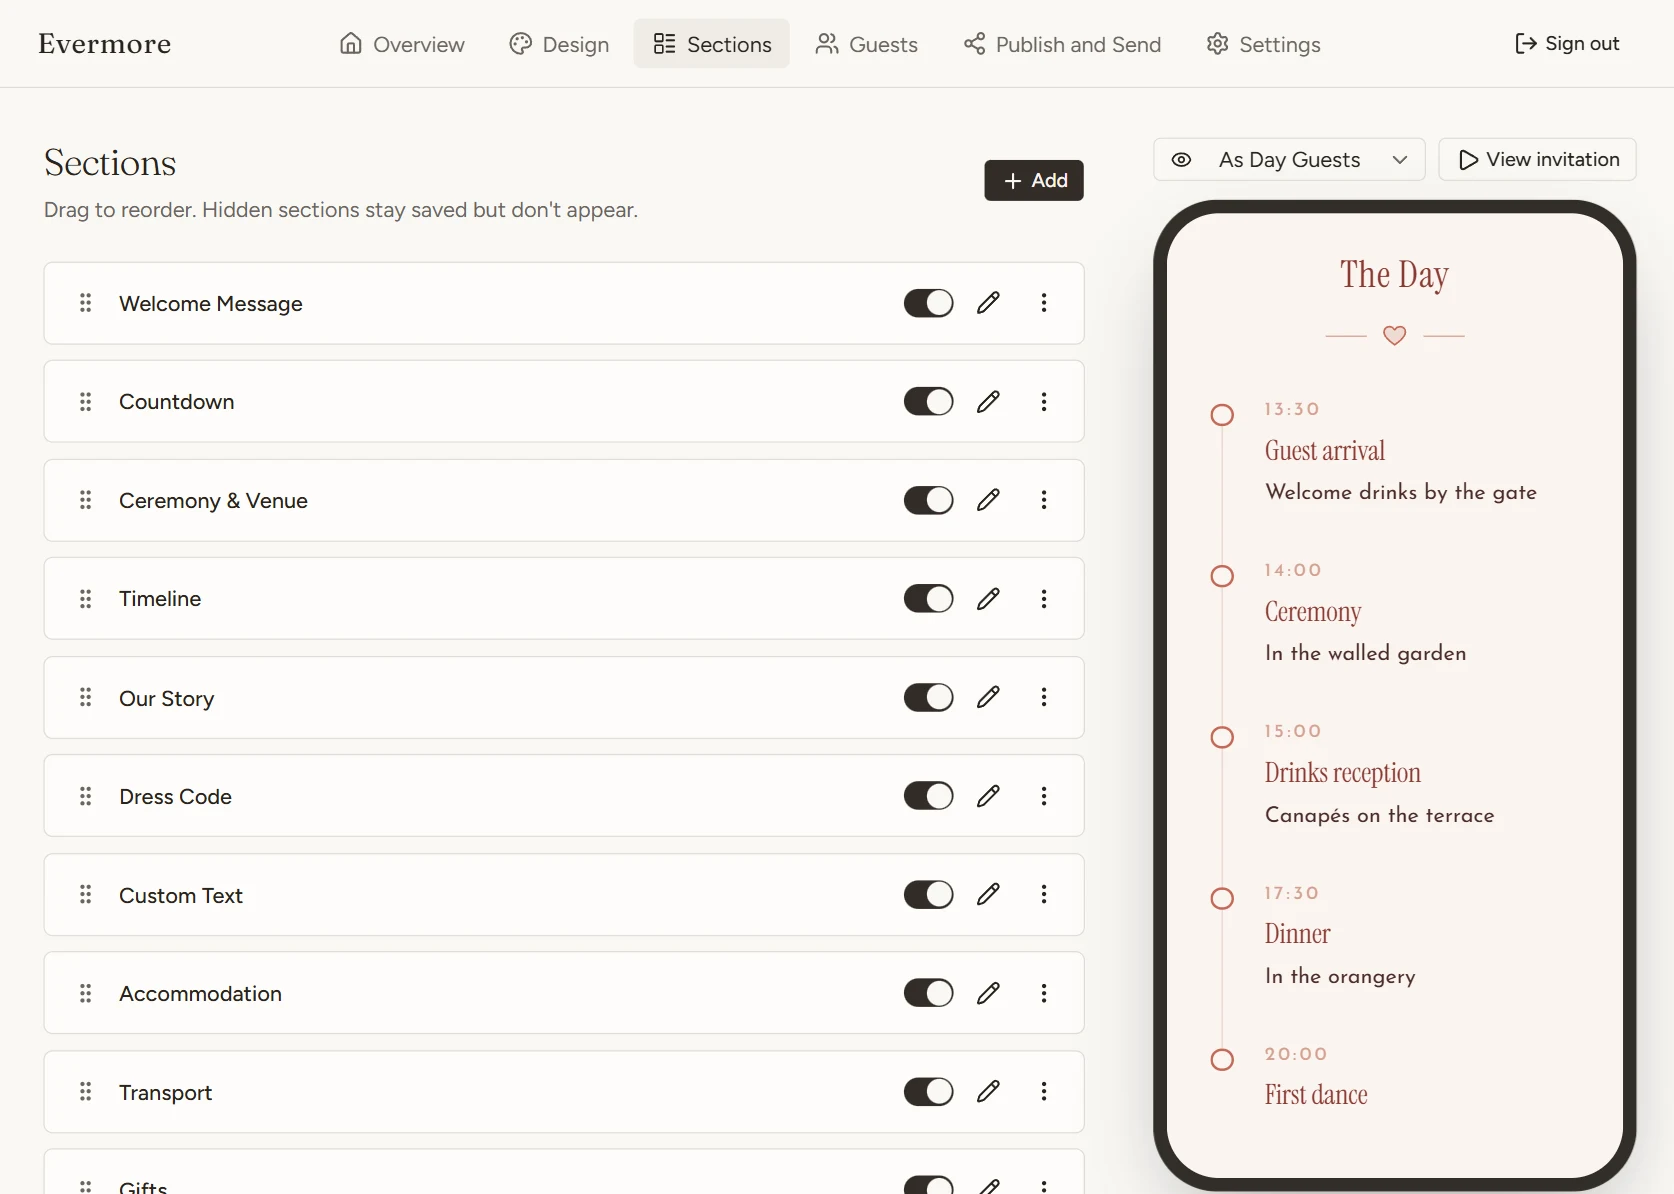
Everything below the top of the invite is a section. Drag to reorder, switch off anything you don't need, and tap the pencil to edit in place.
- Welcome, countdown, venue, timeline and story
- Dress code, where to stay, travel and gifts
- Hidden sections stay saved for later
06Sections
Add only what you need
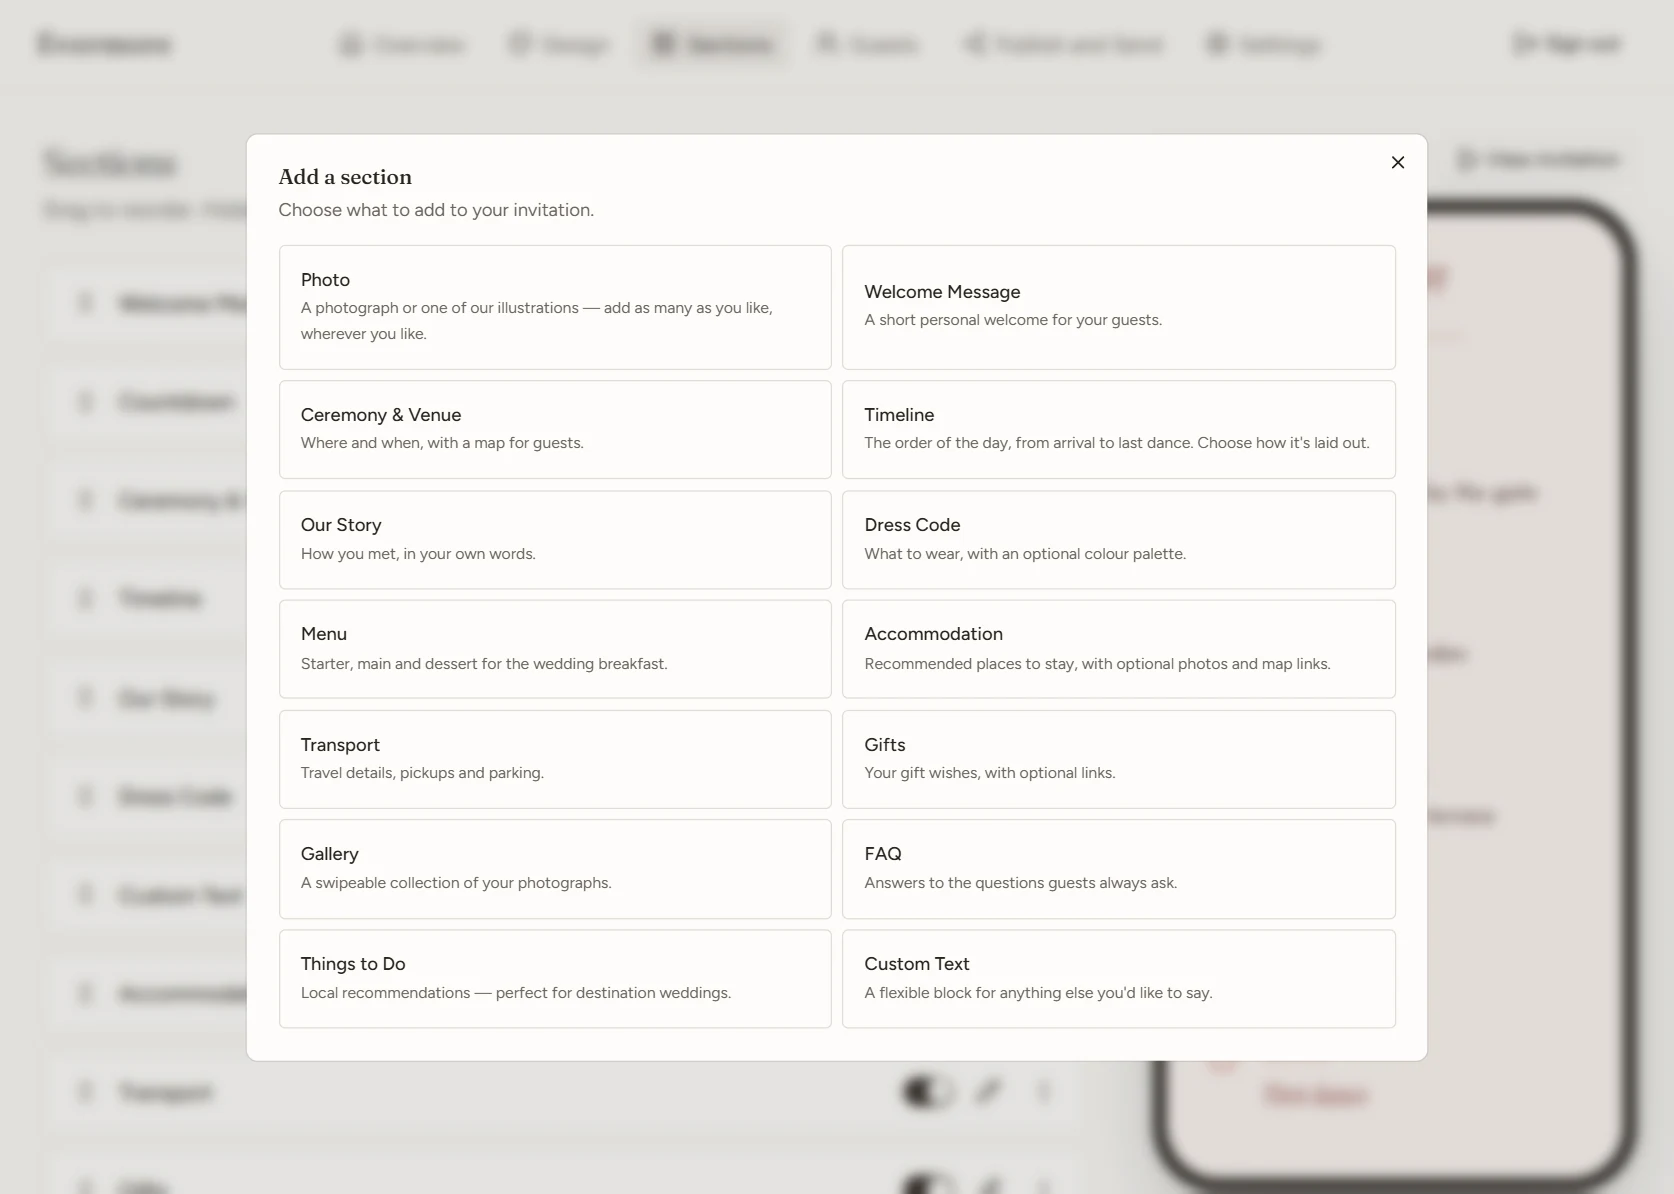
Press Add and pick from the library. Each section is written for a wedding, so it arrives with sensible headings and a layout that suits it.
- Photos, galleries and a menu
- Things to do for destination weddings
- Custom text for anything else
07RSVP
Ask the questions that matter
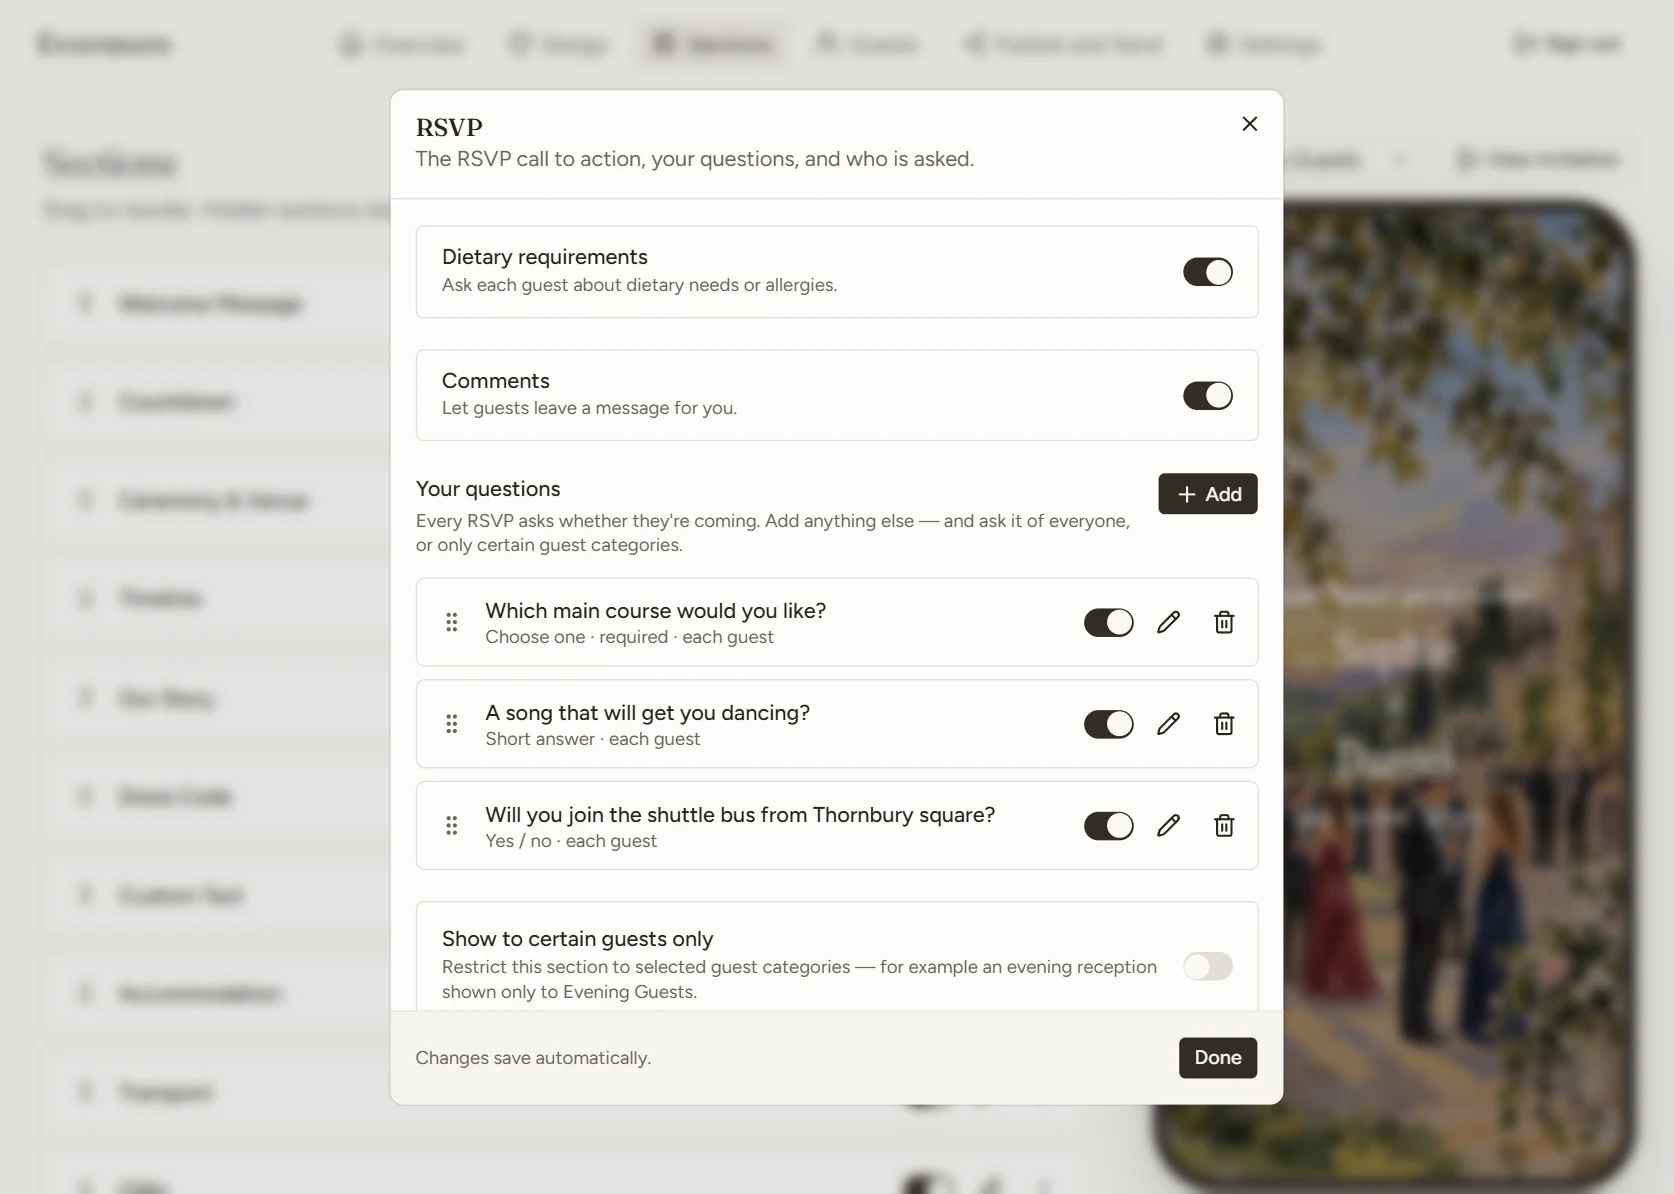
Every reply starts with whether they're coming. From there, add your own questions and choose who is asked — everyone, or only certain guest categories.
- Dietary requirements and comments in one tap
- Choices, short answers and yes-or-no questions
- Set a respond-by date and the button wording
08Guests
Add your guest list
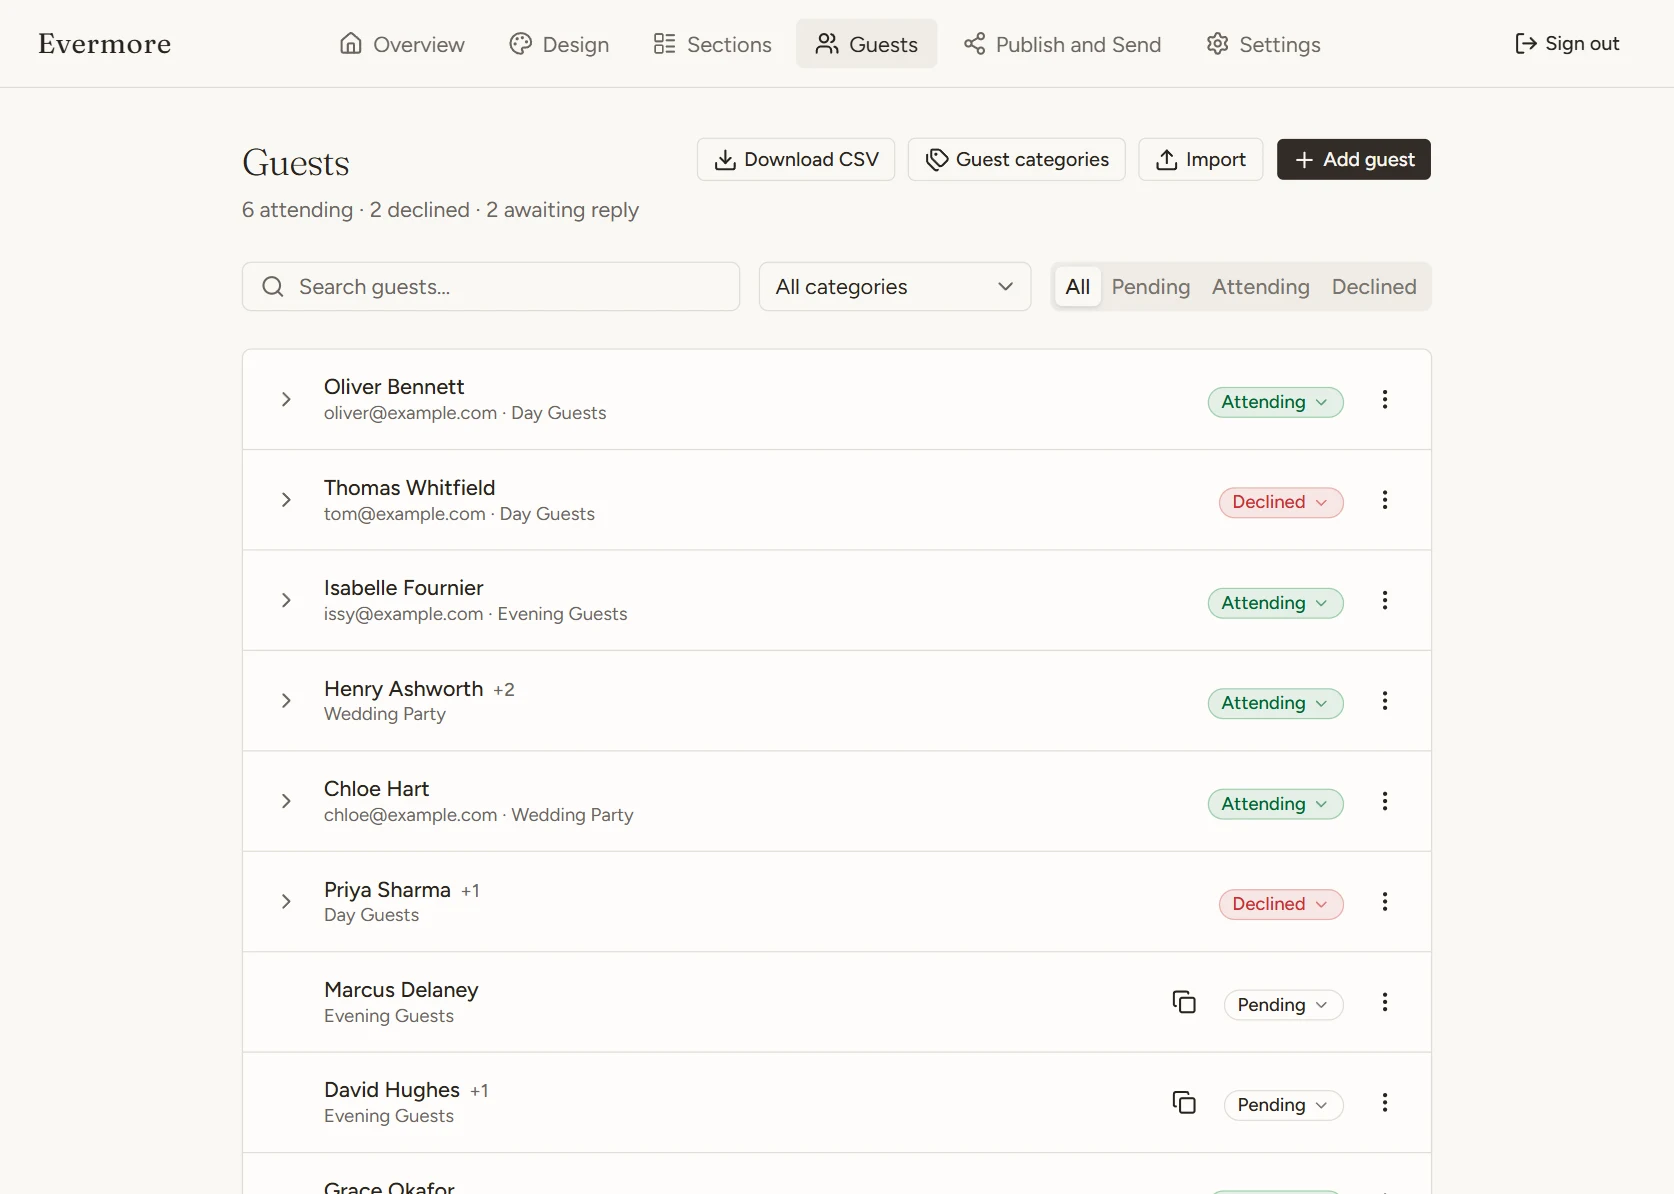
Add guests one by one, or import your whole list from a spreadsheet in one go. Group them as Day Guests, Evening Guests or Wedding Party so each sees the right details.
- Import a spreadsheet or add people by hand
- Plus-ones set for each guest
- Search, filter and download a CSV
09Publish and send
Take it live, then send
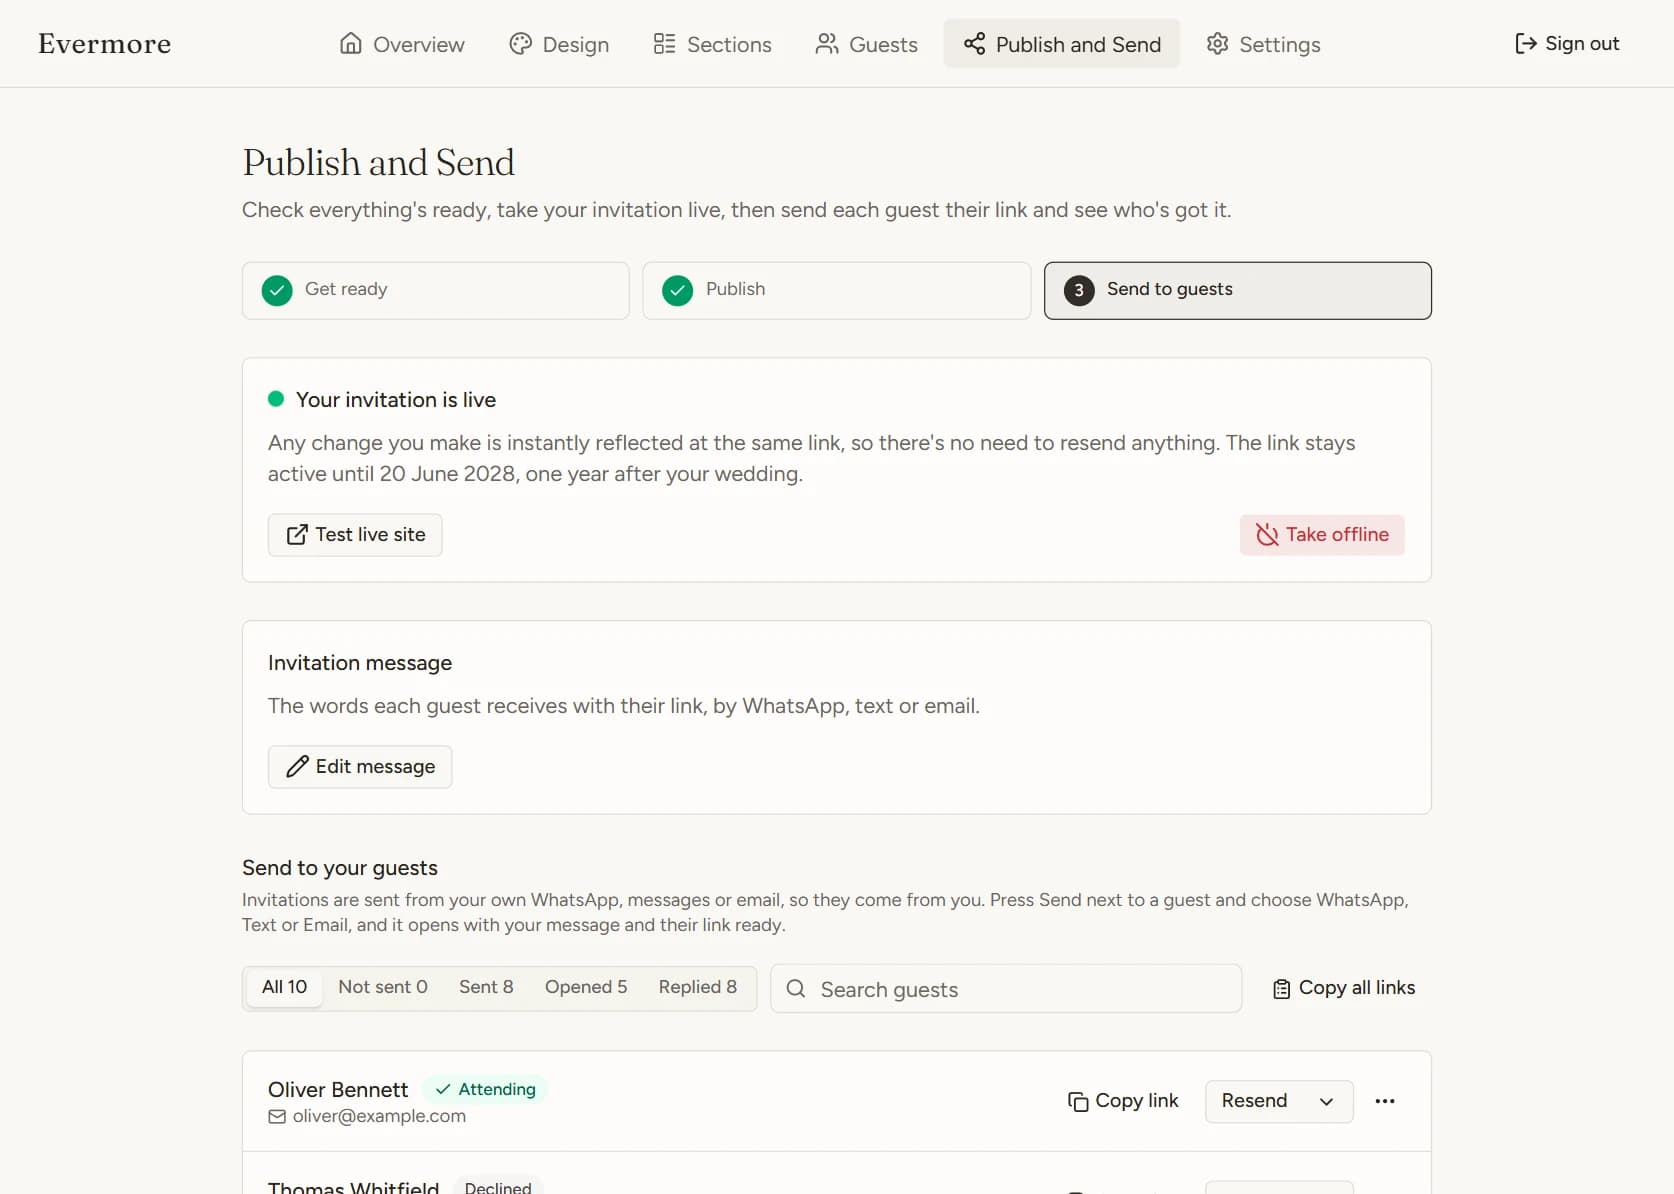
Three steps: check it's ready, publish, then send. Once it's live, every edit appears at the same link, so there's never a need to resend.
- Every guest gets their own personal link
- Send by WhatsApp, text or email from your phone
- See who's been sent it, opened it and replied
10Replies
Read every reply and track who's coming
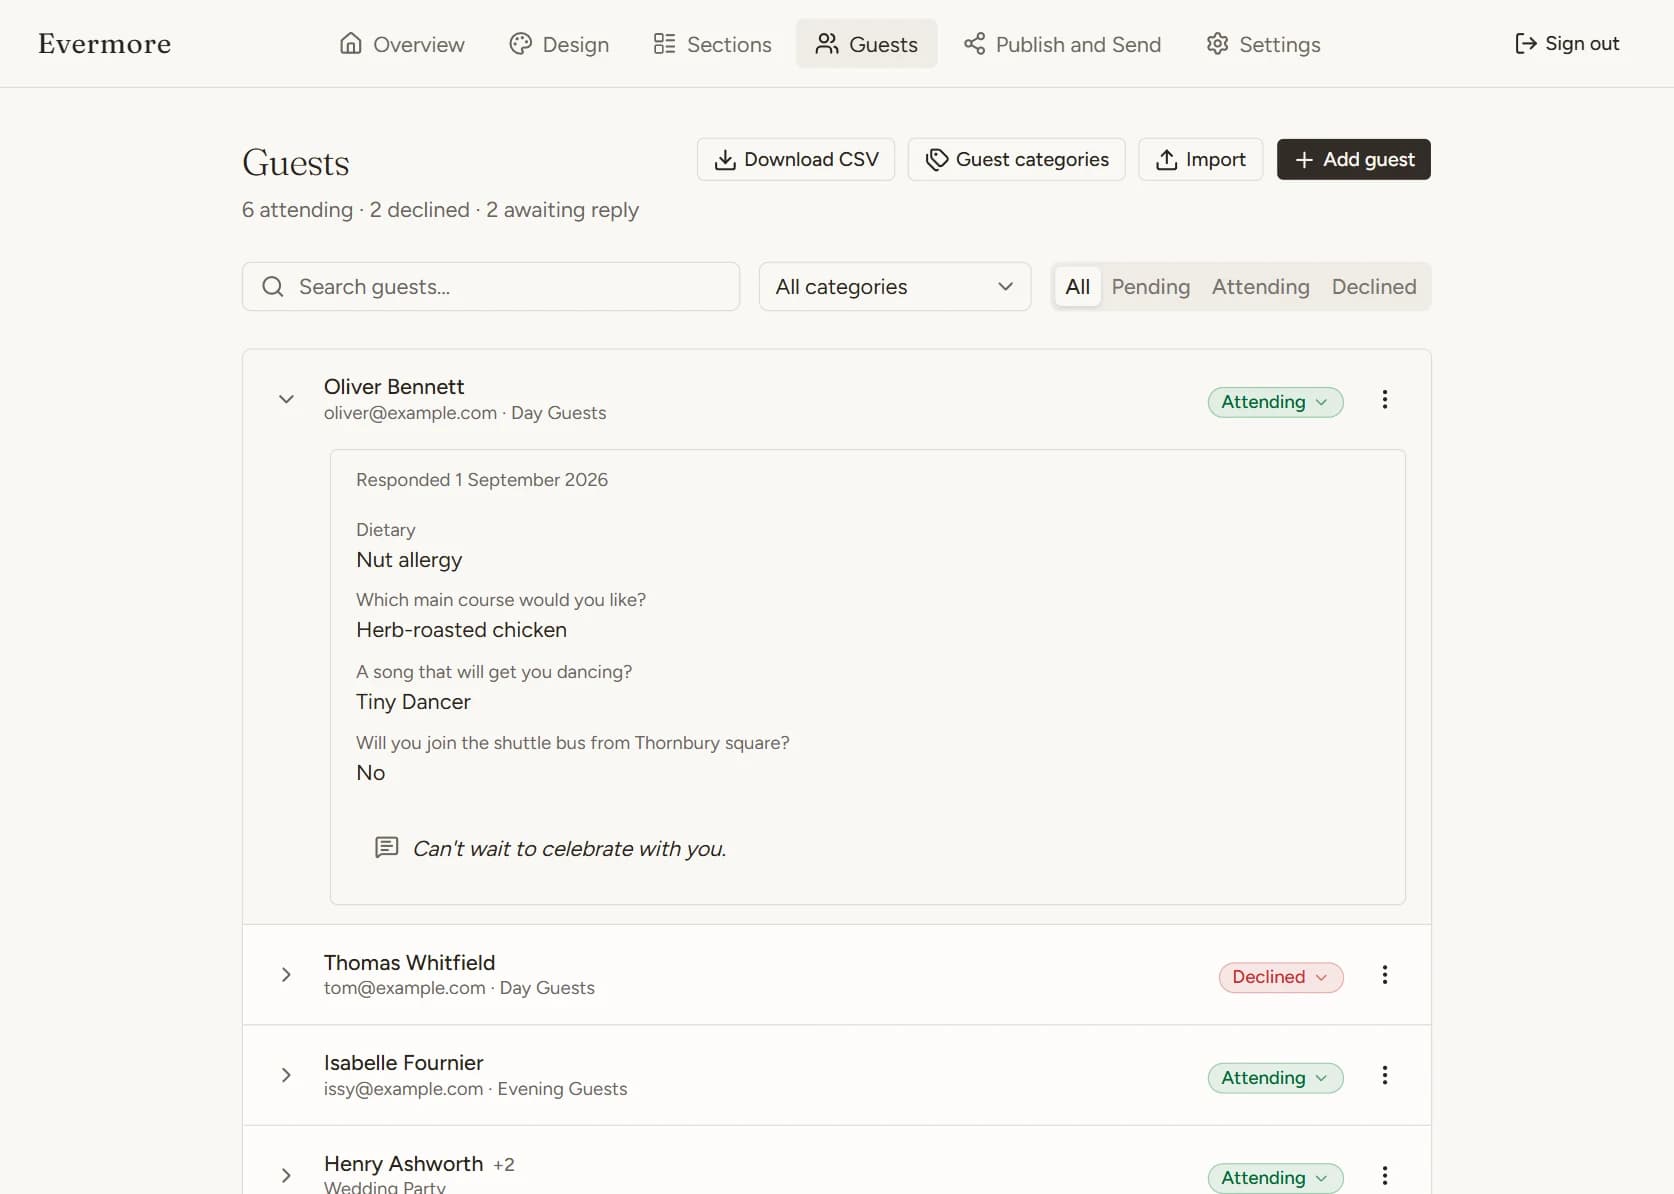
As guests respond, the list keeps count of who's attending, who can't make it and who hasn't replied yet. Open anyone to see exactly what they sent.
- Attending, declined and pending at a glance
- Dietary needs and answers to your questions
- Their note to you, and when they replied
Ready to start yours?
Create your invitation in minutes, or watch the demo first to see what guests receive.